8th September 2021
Building a Bookstagram
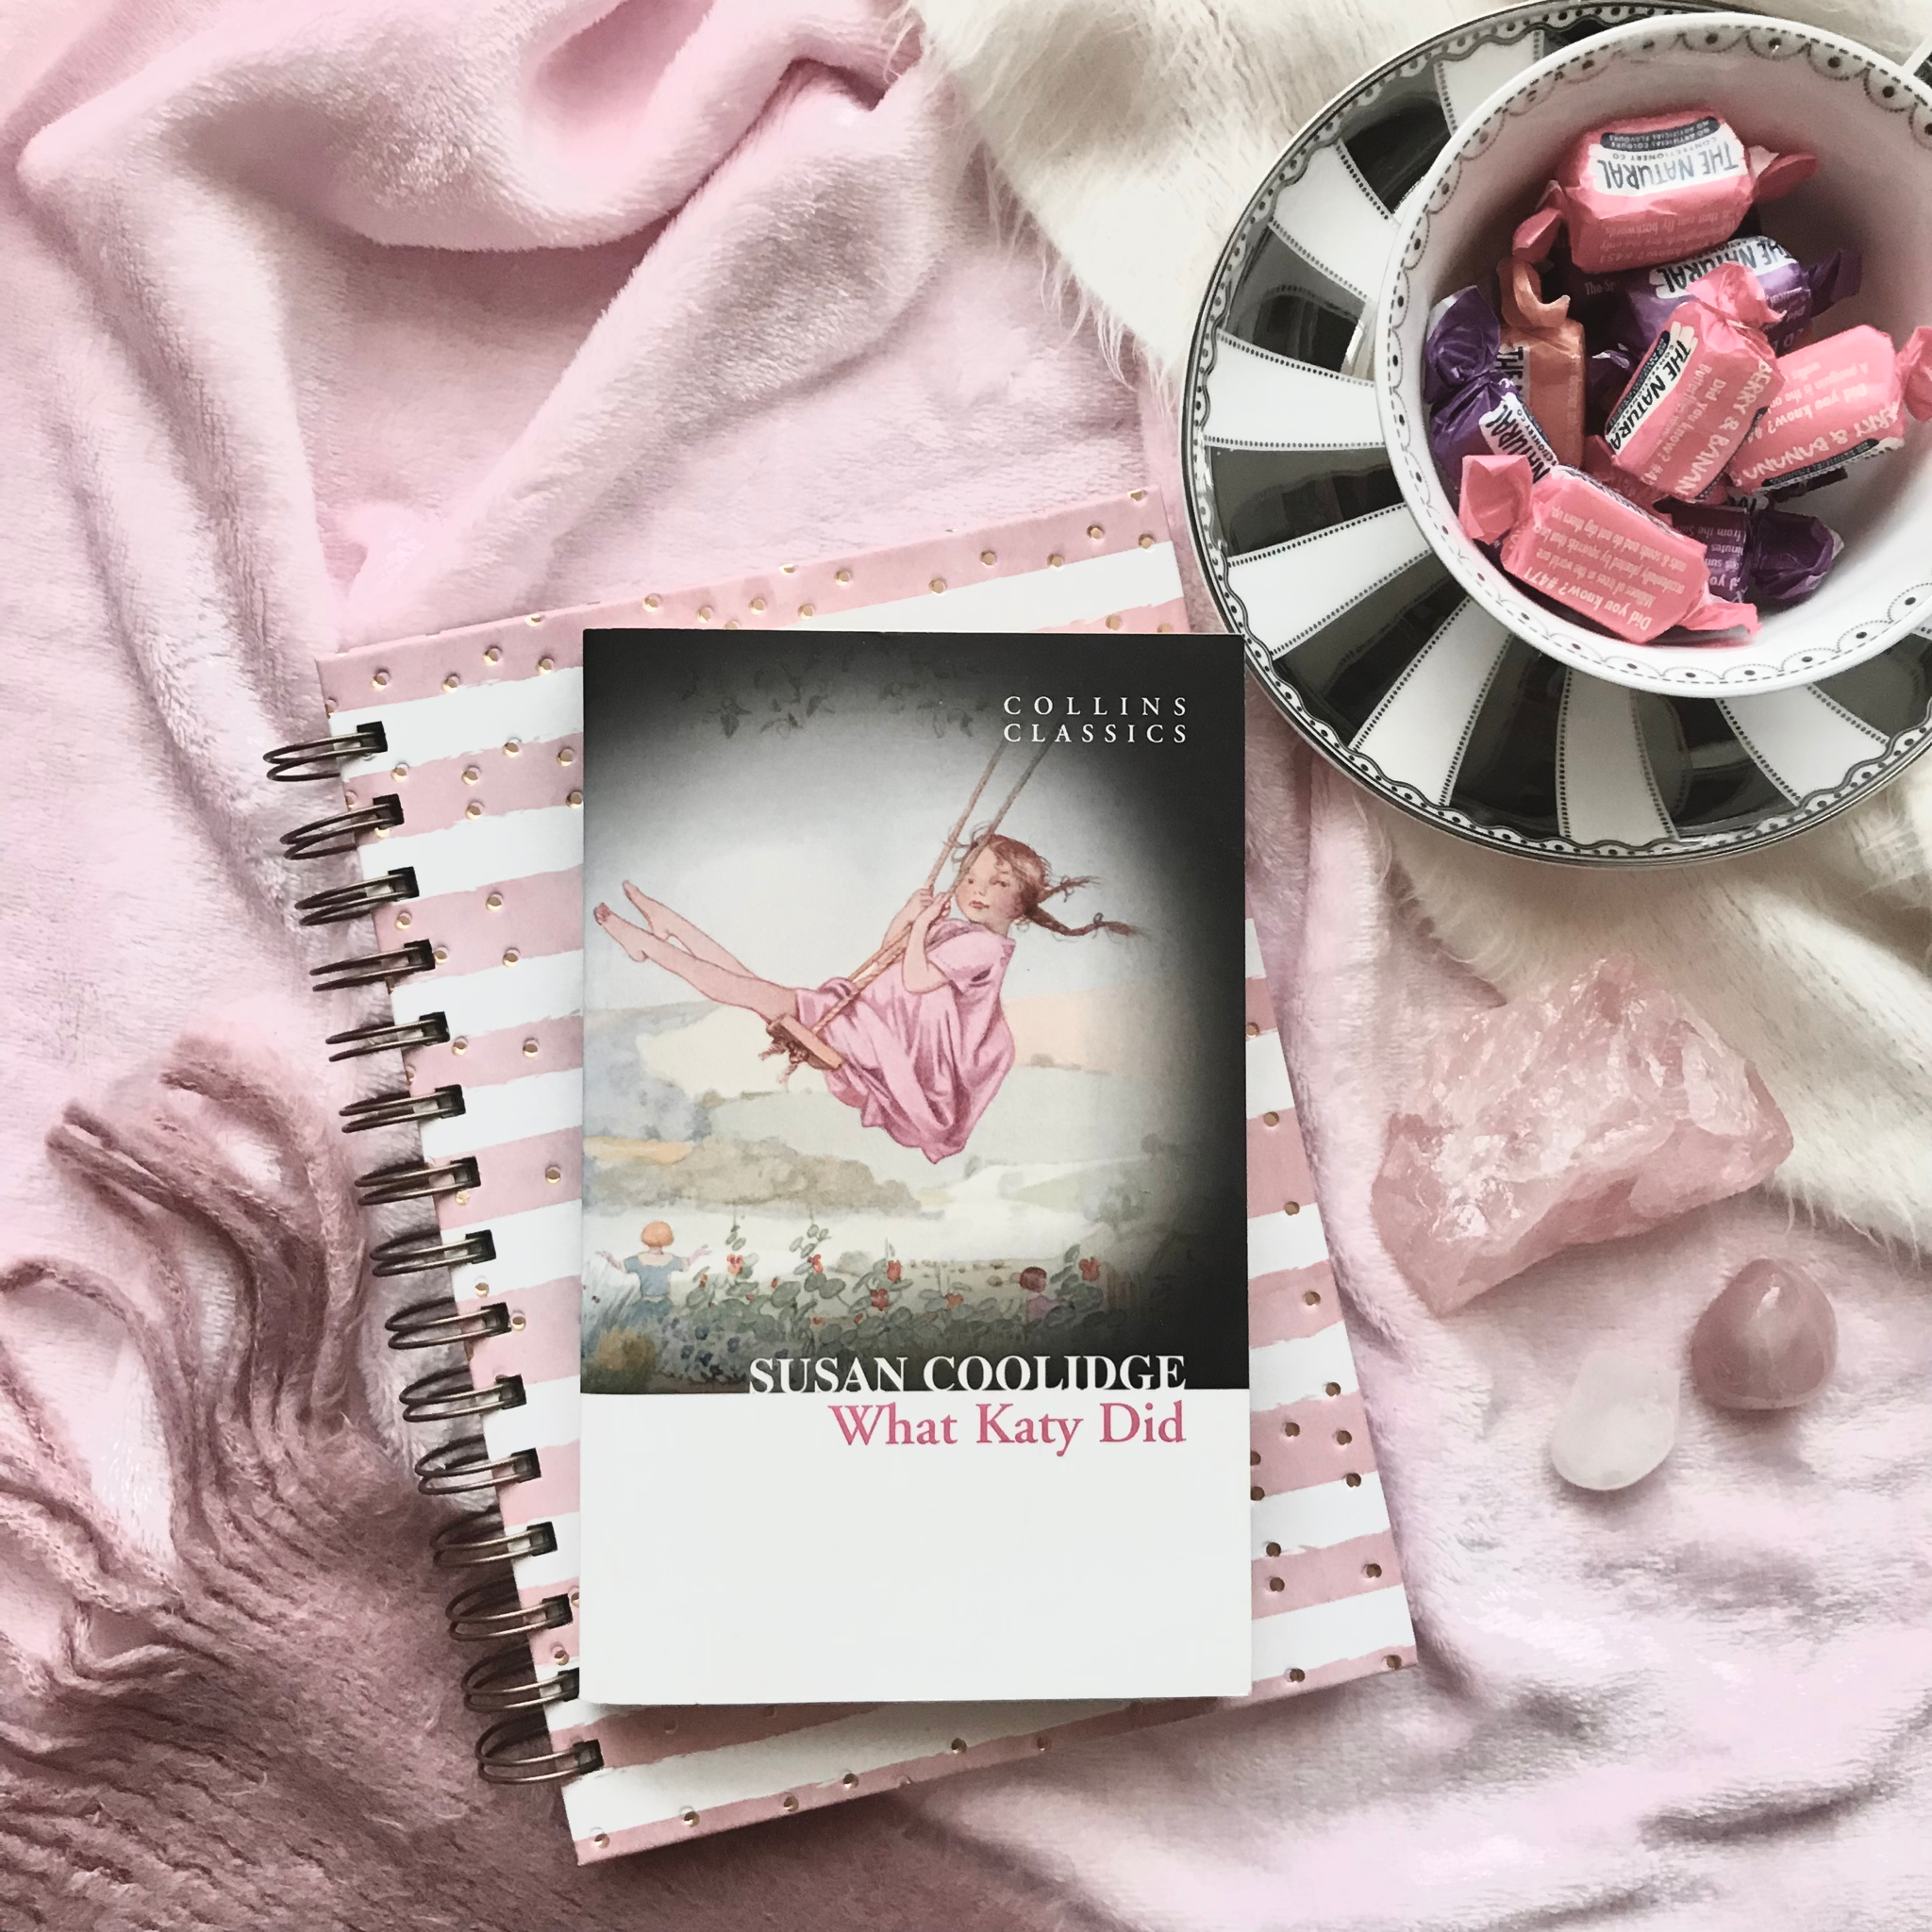
You’ve probably seen them on your instagram feed, those gorgeous displays of new books that make you desperately want to read them. From stacks to flatlays there are so many creative ways books can be marketed to readers, but these photographs are also a great way to spruce up your own account. So if you’ve ever dreamed of dipping your toes into the Bookstagram waters, in this week’s blog post I’ll guide you through the step-by-step process to creating an ✨aesthetic✨ photograph for your favourite book or current read.

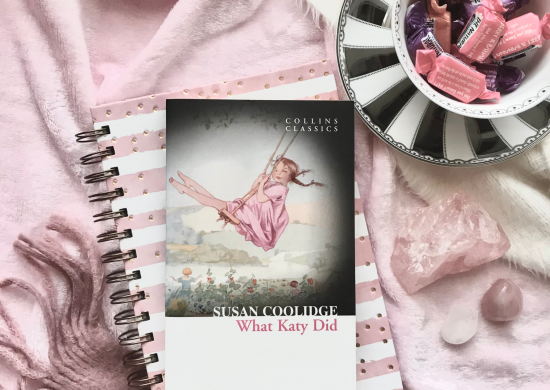
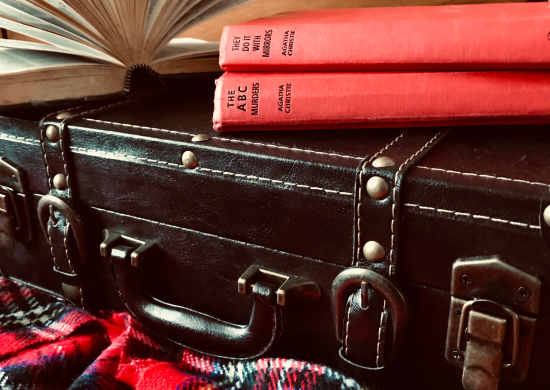
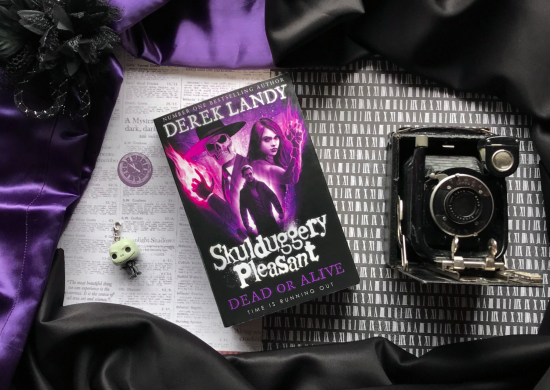
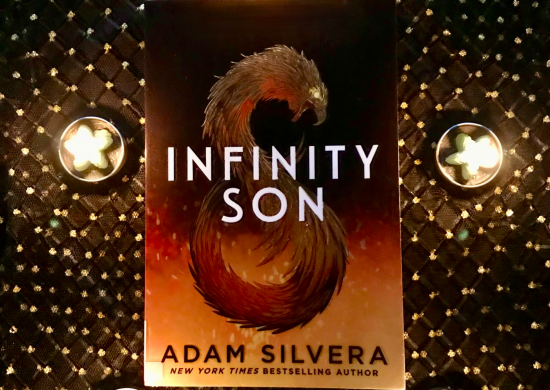
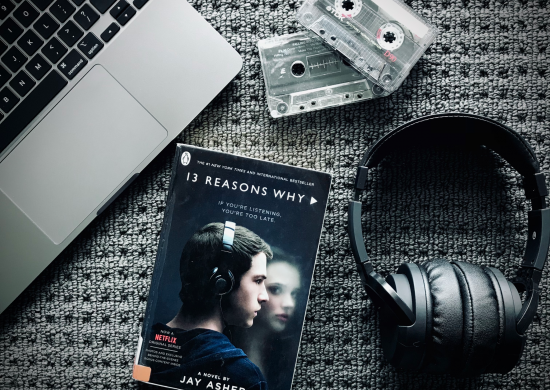
Looking at other artists’ work is always a good place to start when you embark on any creative endeavour. It can be incredibly helpful in the first stages of your bookstagram journey when you aren’t really too sure what you’re doing. To find your inspiration, you’ll want to head over to instagram and search #bookstagram or you can find my recommendations of the top 10 Bookstagrams to follow. You’ll want to start getting a feel for the different styles out there as well as the many possible formats to choose from. If you scroll down this page you’ll find some of my own examples to help you out.

The very first thing you’ll want to choose is the book of course! Now you can choose a standalone, multiple books from a series, or even just a collection of books with similar covers. Next you’ll want to select a theme for your photo, usually it’s a good idea to go for a particular colour or mood that either matches or contrasts the book cover.
You’ll also need to make a decision about the kind of set-up you’ll be using. You could have a minimal display with lots of white space, purposefully aligned items with a sense of ordered precision. Or you could go for a chaotic overlapping mess of purposefully misaligned items. Of course you can change your mind later on, but it’s helping to have a starting point to guide you.
Choosing the format is also a crucial step, you’ll either do a flatlay (photograph taken directly above) or you could have a more 3D setup (where you’ll have a backdrop and also a floor). I’ll be focusing on flatlays for this post but the general ideas are the same.
Finally you’ll need to choose a background. This could be your floor, a rug, a tabletop, essentially you just need a flat surface to work on.

Undoubtedly the hardest part is gathering your supply of props. When you are doing this, you’ll always want to keep the palette in mind. Big tip: gather waaay more stuff than you’ll end up needing, this will allow you to try out a few options. In fact, you’ll likely end up with 10 or so different versions – be willing for the photo to look nothing like you originally envisioned because you might stumble upon something even greater.
You’ll want to think about what items are relevant to the themes or genre of the book. Aim to include lots of different sizes and textures to make your image visually interesting. Here’s a list of some items you could start with, but the trick is to let your imagination run wild:
- Lights or candles (these look amazing when lit up)
- House plants
- Teacups and mugs (filled with your fav beverage or anything really)
- Shells, rocks, feathers, or flowers (fresh or dried)
- Scrapbooking paper (this works well on your background)
- Fabric scraps or even your own clothes, like scarfs (great for adding texture)
- Sunglasses or even regular glasses (if you can take the photo without them, that is)
- Headphones or jewellery
- Whatever random trinkets are gathering dust in your house
- Your devices (the edge of your keyboard or even your phone case if its cute)
- Stationery, pegs, twine or ribbon
- Other books (these look great pulled open to fan out)
- Funko Pop or any other figurine (finally you can explain to your parents and friends that you actually have a use for these)
- Food (I was going to include a slice of chocolate cake I made earlier today in one of my examples, but unfortunately my household ate the whole thing before I got around to taking the pictures oops)
The important thing is that this doesn’t have to be an expensive exercise. First see what you’ve got in your house, rifle through your drawers and see what hidden gems you can find (that you totally forgot you even had). If you do want to invest in some items, Kmart is of course a great place to start as they have heaps of crafty stuff, but be warned you’ll probably leave with a bunch of things you didn’t need in the first place.

Before you get too far ahead, you’ll need to make a decision about your photo size; will you be using a square or rectangular image (horizontal or vertical)? Whatever you choose, this will help you lay out everything in the right shape.
Now you can start arranging your props! You’ll want to start with any fabrics you’re using first, then lay your largest items as a base. I like to start with the book in the middle given that it’s the main feature and then add things around it.
You’ll also need to take lighting into consideration. Natural light works really well, but anything works as long as it’s even and you don’t have shadows. If you can’t find any good spots (I certainly know the feeling) you can always edit the image later to reduce the obviousness of the shadows.

Now it’s time to take that photo! My best piece of advice is to always take as many as you can so that you have options later. You’ll also want to take the image from further back, you can always crop it down. Keep in mind that everything doesn’t have to fit completely in frame, so you can cut off props on the edges of your image.
Ordinarily I am not a big fan of filters, I don’t think people need to nor should they change the way they look, but in this case editing your images is important. If you’ve gone for a particular colour scheme you might want to highlight this further by modifying the tone of the image to match. Or you might want to add some vintage touches, it’s completely up to you.

So there you have it, I hope this was helpful and that you’re ready to make your first bookstagram post. Remember to have fun and try lots of different things! If you make any flatlays be sure to tag us so we can see your amazing work.